Frontier Camp Skills, Episode 1: Building and Managing a Safe Campfire
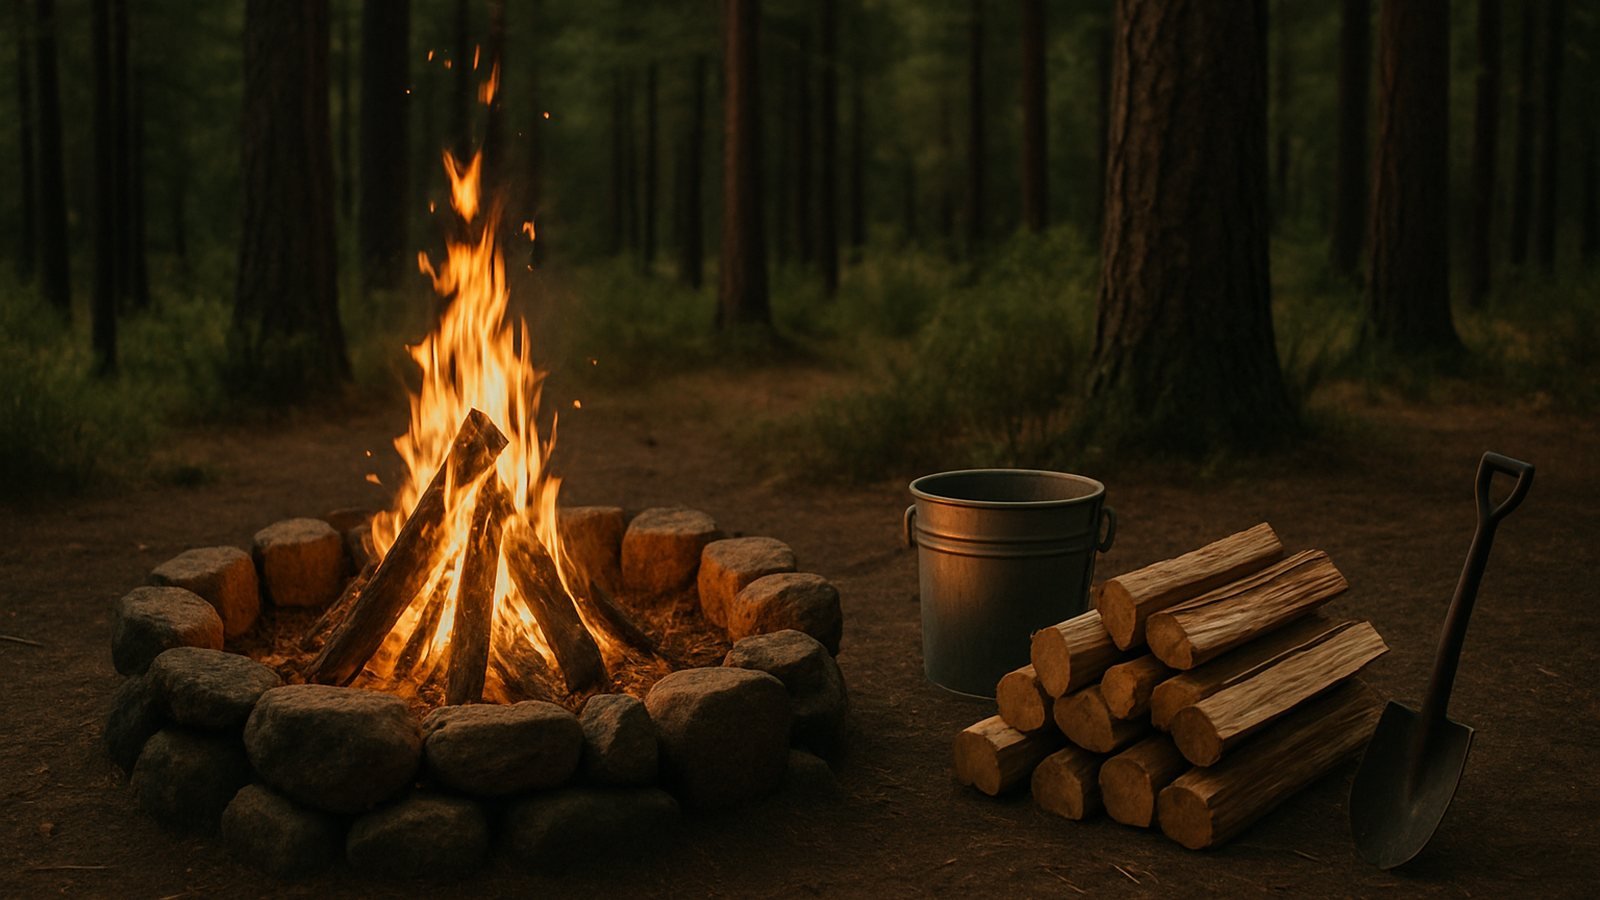
Welcome to Frontier Camp Skills, a series from Camping Frontier that teaches one practical outdoor skill at a time, step by step, the way a patient friend would teach you at the campsite. Each episode focuses on a single skill: what it is, why it matters, how to do it well and how to do it safely.
We are starting with the skill at the center of so many camping memories: building and managing a safe campfire. A good fire cooks dinner, warms cold hands and gathers people together. A careless one can injure someone or start a wildfire. The difference comes down to preparation, technique and attention, all of which can be learned.
Before You Strike a Match: Check the Rules
Fire rules change with the season, the weather and the location. Before every trip, and again when you arrive:
- Check for burn bans or fire restrictions with the park, forest or local fire authority. Restrictions can take effect quickly during dry or windy weather.
- Read the campground’s own rules. Many allow fires only in provided fire rings.
- Ask about firewood rules. Many areas prohibit bringing firewood from far away because it can spread invasive insects and tree diseases. Buy it locally or buy certified heat-treated wood.
- Know whether gathering dead and down wood is allowed. In many parks it is not.
If fires are not allowed, a camp stove and a good lantern still make for a pleasant evening. Respecting a ban is part of the skill.
Choosing and Preparing the Fire Site
Use an existing fire ring whenever one is provided. It concentrates impact in one spot and is usually placed with safety in mind. Before lighting:
- Clear a 10-foot area around the ring of dry leaves, grass, pine needles and gear.
- Look up and avoid overhanging branches.
- Keep the fire well away from tents, tarps, chairs and vehicles. Tent fabric can melt or ignite from a single ember.
- Note the wind direction and set up seating upwind.
- Have water and a shovel or trowel ready before you light the fire. A full bucket or several gallons of water is a good standard.
Where no ring exists and fires are permitted, choose bare mineral soil away from roots and leaf litter, and follow Leave No Trace guidance. A fire pan or mound fire leaves almost no trace.
The Three Kinds of Fuel
Every successful fire grows through three stages of fuel. Gather all three before you strike a match. The most common beginner mistake is lighting a fire and then scrambling for kindling while it dies.
Tinder
Tinder is fine, dry material that catches a spark or flame easily: dry grass, birch bark, cedar bark shavings, fatwood scrapings, dryer lint, cotton balls with a dab of petroleum jelly, or commercial fire starters. You need a double handful, or two or three starters.
Kindling
Kindling is small, dry sticks, from pencil-lead thickness up to about thumb thickness. It bridges the gap between tinder and real firewood. Gather much more than you think you need, at least two good armloads, sorted from thinnest to thickest. If sticks bend instead of snapping, they are too wet.
Fuel wood
Fuel wood is split logs from wrist-thick to forearm-thick. Seasoned hardwoods such as oak, maple and hickory burn longer and hotter; softwoods such as pine catch quickly but burn fast and pop more. Split wood catches much more easily than round logs because the dry interior is exposed.
Making Kindling from Firewood
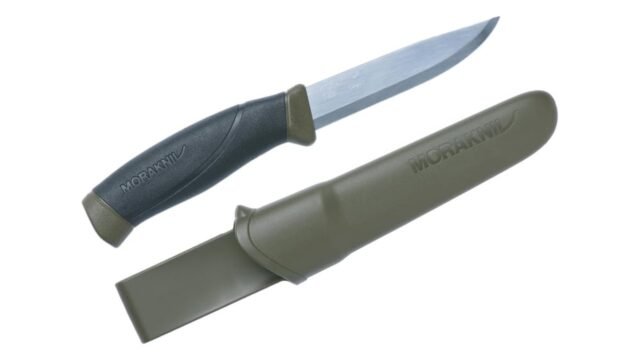
Bought firewood often comes in large pieces with no kindling. You can make your own by splitting a dry piece into smaller and smaller sections. A small hatchet works, but a steady method for beginners is batoning: set a sturdy fixed-blade knife or hatchet on the end of the wood, then tap the spine with another piece of wood to drive it through. Keep hands and legs out of the line of the blade, work on a stable chopping block, and go slowly.
A sharp tool is a safer tool, because it bites instead of glancing off. Our sister site The Homestead Frontier explains how to sharpen and care for an axe and splitting maul, and the same principles apply to a camp hatchet.
Three Reliable Fire Lays
A fire lay is simply the way you arrange fuel. Each has a purpose.
The teepee
- Place a loose ball of tinder in the center of the ring.
- Lean the thinnest kindling around it in a cone, leaving a gap on the upwind side to reach in and light it.
- Add a second layer of slightly thicker kindling.
- Light the tinder through the gap, low and on the upwind side.
The teepee lights quickly and is great for getting a fire going. It eventually collapses into a bed of coals, which is just what you want.
The log cabin
- Build a small teepee in the center.
- Around it, stack pairs of split sticks in alternating directions, like a log cabin, three or four layers high.
- Light the teepee in the center.
The log cabin burns steadily, creates an even bed of coals and is ideal for cooking.
The lean-to
- Lay a larger log on the upwind side of the tinder.
- Lean kindling against it, over the tinder.
- Light the tinder underneath.
The lean-to is useful in wind, because the support log shields the young flame.
Lighting the Fire
Matches and a lighter are the most practical ignition tools for most campers. Keep waterproof matches in a waterproof container as a backup. A ferrocerium rod is a satisfying skill to learn and works when wet, but it takes practice.
- Light at the base of the tinder, on the upwind side, so the flame is carried into the fuel.
- Shield the flame with your body if there is a breeze.
- Once the tinder catches, gently add the thinnest kindling. Do not smother it.
- If the fire struggles, blow gently and steadily at the base. Fire needs oxygen as much as fuel.
- Add progressively thicker kindling, then the first small pieces of fuel wood.
Never use gasoline or any accelerant, and never squirt lighter fluid onto a lit fire. Flare-ups cause serious burns every year.
Managing the Fire
A well-managed fire is usually smaller than people expect. Big, roaring fires waste wood, throw sparks and are hard to cook over or sit near.
- Add one or two pieces of wood at a time.
- Keep the fire inside the ring and below knee height.
- Never leave it unattended, even for a moment. Assign a “fire keeper” in a group.
- Watch for wind changes and sparks. If the wind picks up, let the fire burn down or put it out.
- Keep children and pets at a safe distance and set clear rules: no running near the fire, no playing with burning sticks.
- For cooking, let the fire burn down to glowing coals. Coals give steady, even heat; flames scorch food.
Putting the Fire Out Completely
This is the most important part of the episode. A fire that seems out can hold hot embers for hours or even days. The standard method is drown, stir, feel.
- Drown: Pour water slowly over all the embers, not just the red ones. You will hear hissing and see steam.
- Stir: Use a stick or shovel to stir the ashes and embers, scraping partially burned logs.
- Drown again: Pour more water and keep stirring.
- Feel: Hold the back of your hand close to the ashes. If you feel any heat, repeat. When it is cool to the touch, it is out.
If water is scarce, mix and stir dirt or sand into the coals, but never simply bury a fire; buried coals can smolder and spread underground. Start putting the fire out at least 20 minutes before bed or before leaving camp.
Common Mistakes (and Easy Fixes)
- Not enough kindling: Gather twice what you think you need.
- Wet wood: Split it to reach the dry interior, and keep your wood covered.
- Too much too soon: Big logs smother a young fire. Build up gradually.
- Packing it too tight: Fire needs air spaces.
- Leaving too early: Allow time to fully extinguish.
A Simple Fire Kit
You do not need much. A small kit that lives in your camp bin makes every fire easier: a lighter and a backup of waterproof matches, a handful of fire starters or a bag of cotton balls with petroleum jelly, a folding saw or small hatchet, a pair of leather gloves for handling wood and the grate, a collapsible bucket for water, and a small shovel or trowel. A headlamp keeps both hands free once the sun goes down. Check the kit at the start of each season and replace anything used up.
Cooking Over Your Fire
Once you have a steady bed of coals, cooking becomes easy and enjoyable. Set a sturdy grate over the ring, or rake a portion of coals to one side to create a hot zone and a cooler zone, just like a two-burner stove. Foil packets of sliced potatoes, onions and sausage cook well tucked at the edge of the coals for 20 to 30 minutes, turned once. A cast iron skillet on the grate handles eggs, pancakes and burgers. Use long-handled tools and leather gloves, and keep a spot on a flat rock or the table for setting down hot pans so nobody grabs a handle by mistake.
Practice Before the Trip
Like any skill, firecraft improves with practice. If local rules allow, try building small fires in a backyard fire pit or at a nearby campground on a calm day. Practice each lay, and practice putting the fire out properly. When it matters on a chilly evening, you will be calm and confident.
Frequently Asked Questions
What is the best firewood for camping?
Dry, seasoned, locally sourced hardwood split into manageable pieces, with some softwood or small split pieces to get it started.
Why is my fire so smoky?
Smoke usually means wet wood or too little air. Use drier wood, split it smaller and leave gaps between pieces.
Can I burn trash in a campfire?
No. Plastics and foil release fumes and leave litter, and food scraps attract wildlife. Pack out your trash.
How far should a fire be from my tent?
At least 15 feet, and farther if the wind is blowing toward the tent.
Safety Notes
- Always obey burn bans and fire restrictions.
- Keep water and a shovel next to the fire at all times.
- Never use accelerants such as gasoline.
- Never leave a fire unattended, and supervise children closely.
- For minor burns, cool the area under cool (not icy) running water for 10 to 20 minutes. Seek medical care for larger burns, blistering on the face, hands or joints, or any significant burn on a child.
- Never bring a fire, charcoal or a fuel-burning heater into a tent. Carbon monoxide is invisible and deadly.
That is Frontier Camp Skills, Episode 1. Next time we will build on this foundation with another practical skill. Until then, gather plenty of kindling, keep your water bucket close and enjoy the fire.
Liked this? Get one like it every week.
Practical camping guides, gear picks and campground reviews, in your inbox once a week, plus the free First Camping Trip Checklist when you join. See what's inside.
Free. One email a week. Unsubscribe anytime.